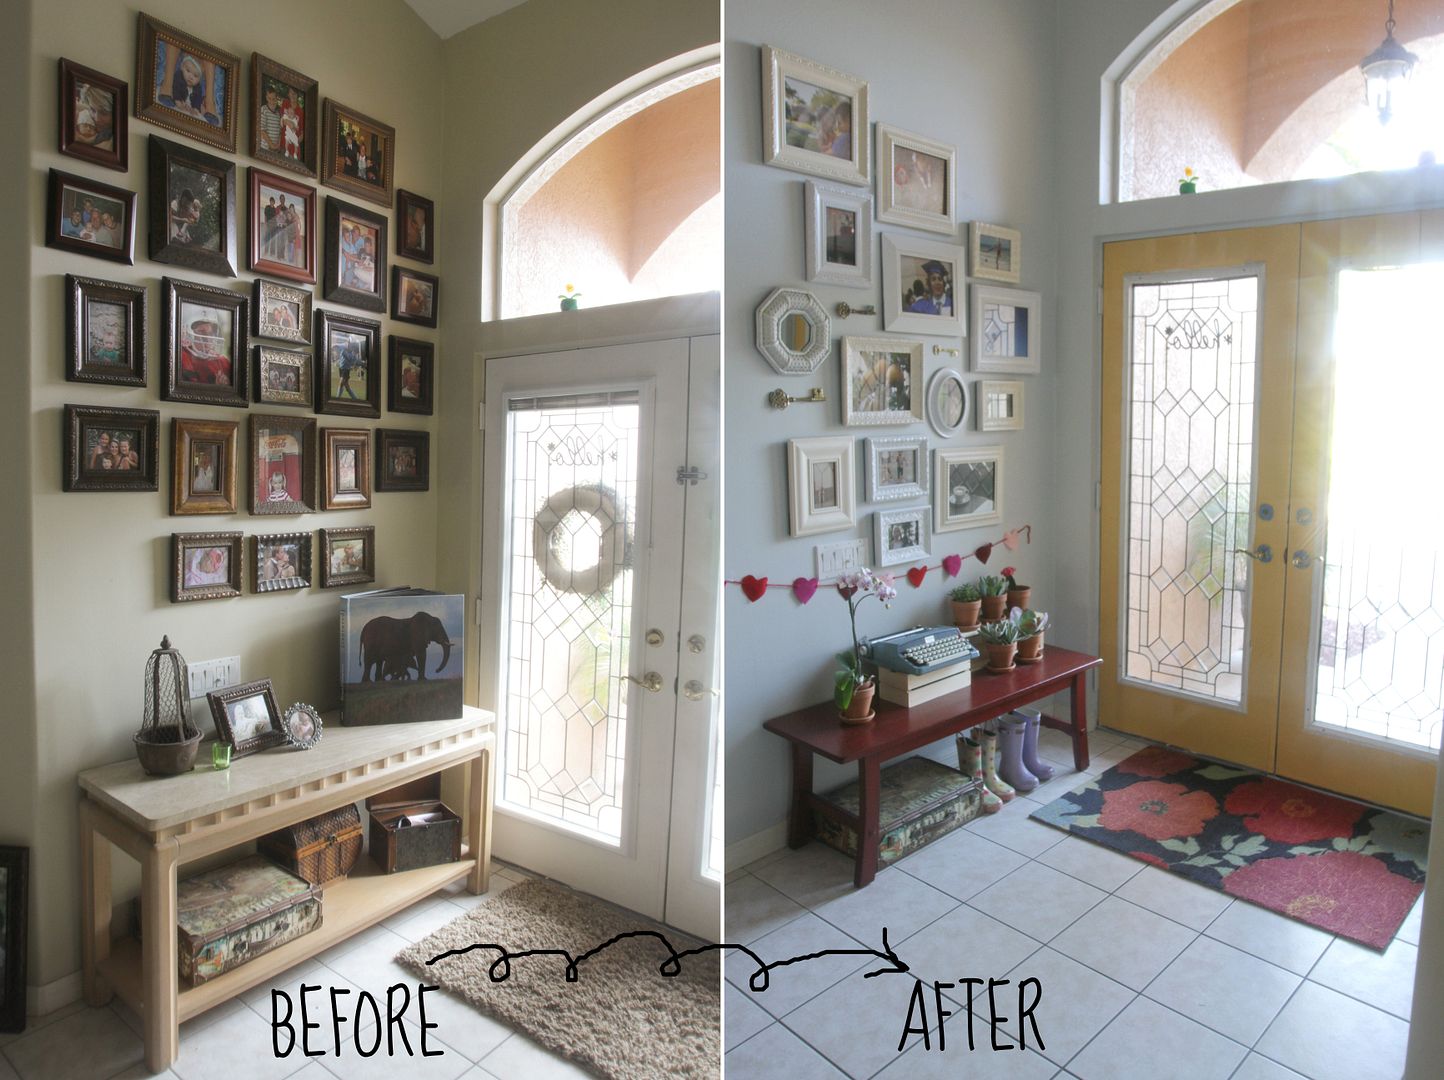
I both pinned and facebooked this awesome entryway a few weeks ago. I had been going over some photos of loved ones who have passed away in recent years and felt the need to display them in more than a photo album.
With this inspiration, all clean and bright, I set to work with frames and spray paint I already had on hand. While I really loved this pretty off-white version, I wasn't sure I would be able to do justice to the "collage", and didn't want to put unneeded money into it until I had proof of concept. Hence the green.
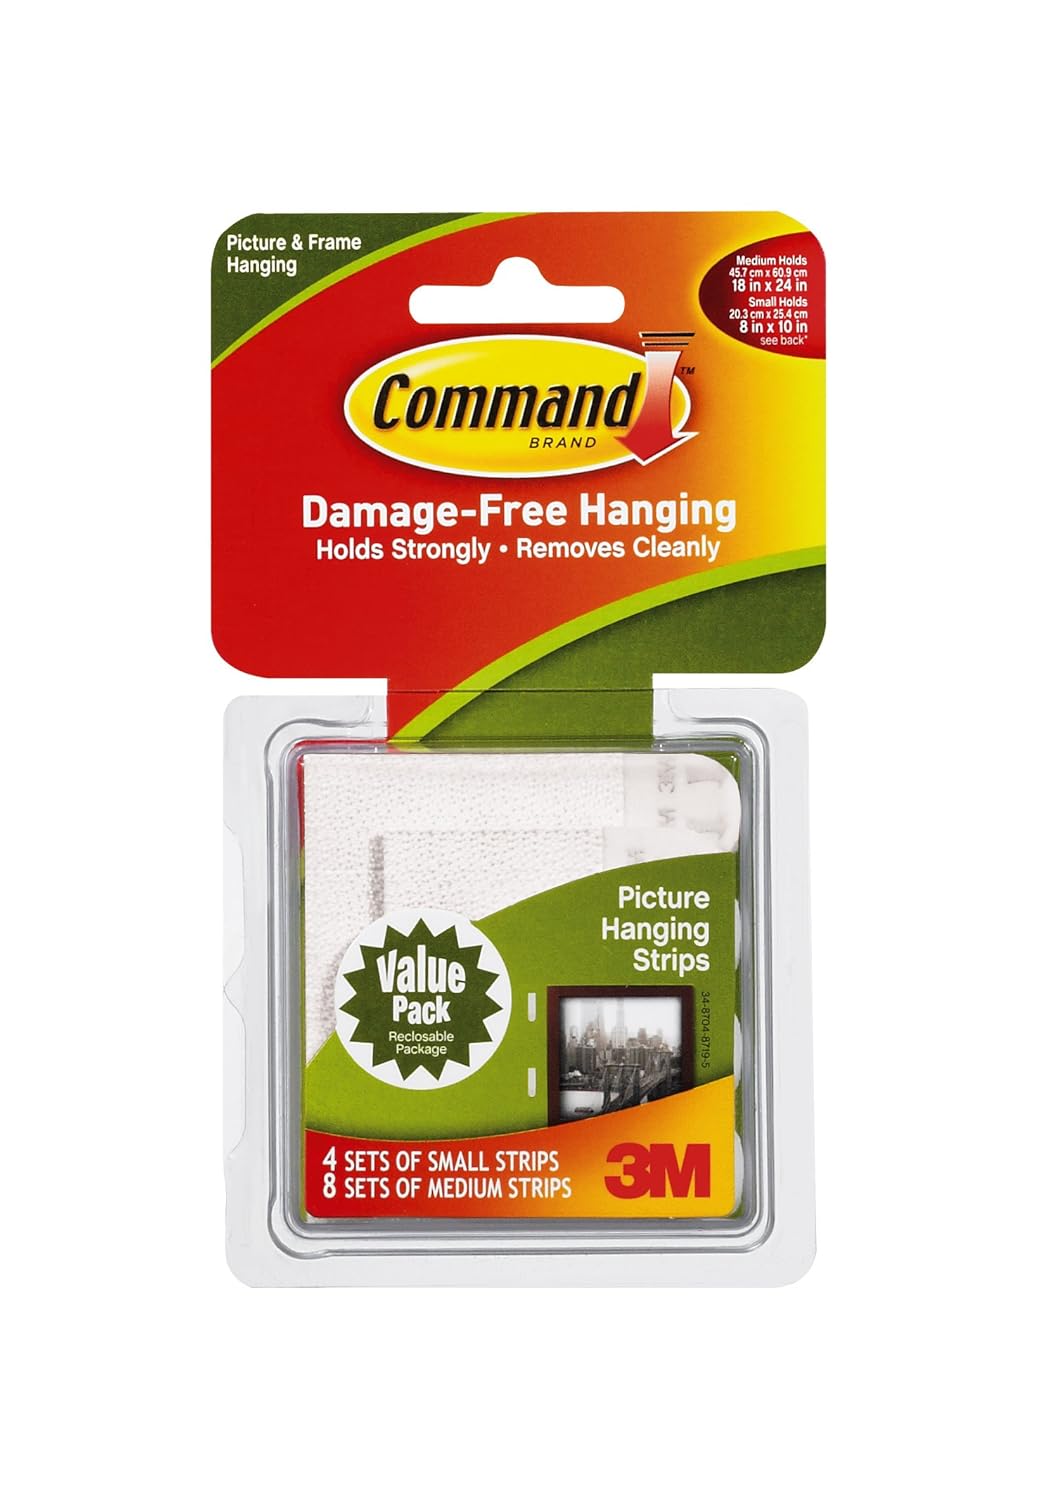
The thing I did channel my budget into was more of these little beauties.
Like, a lot more, like, a real "lot"; the biggest lot Amazon would let me buy (16 small sets, 32 medium). The idea of even attempting to nail hooks into the wall for all these frames just wasn't an option in my head. And after my success hanging plaques last week, I knew these strips would be the minimal-hassle solution. The things are literally a snap. You snap the two sides together, apply to your frame, take 30 seconds of pressure to get the wall piece to adhere and then, if you wish, you can snap off, snap on, swap out, reorganize your layout to your heart's content. Depending on the weight of your frame (mine all weighed much less than the max. recommended per strip), I've found there's even a little play in how specifically you line up the connection. Need to move a frame about half an inch or so in any direction? Just pull it off and line up less of the little teeth. I'm sure that doesn't make sense, but buy a set and experiment for yourself. I also love that there's no annoying -daily- straightening of frames required when you use these. Your picture will stay securely locked at the angle you chose to hang it. (My little home decor heart might just burst!)
Selecting the perfect photos became the most time consuming part once I had the hanging strips in hand.
Which is how it should be.
Minimal practical issues. Focusing instead on too many moments to showcase.
I love my luxury problems.

.JPG)

.JPG)
.JPG)
.JPG)


